How to Color With Markers: Smooth, Streak-Free Pages
September 8, 2026
Key Takeaways
- Alcohol markers such as Copic and Ohuhu soak straight through 20 lb printer paper, so slide a scrap sheet under your page before you make the first stroke.
- Water-based markers like Crayola Classic and Crayola Super Tips keep their pigment closer to the surface of the paper, which makes them the safer choice for young children coloring printed pages.
- Streaks come from a dried edge, not from a cheap marker. Move in one direction, keep the leading edge wet, and finish each shape before you stop.
- Two markers from the same color family blend better than ten unrelated colors, because you can lay the lighter shade down first and pull the darker one into it while both are still wet.
Who this is for: Parents, teachers, and adult colorists who print pages at home and want marker color that looks smooth instead of blotchy.
Markers give a coloring page something colored pencils cannot. They fill a shape with flat, saturated color in a single pass, and the result looks finished from across the room. They also punish hesitation. Stop halfway across a butterfly wing and you leave a hard line that no amount of going back over will erase. Press an alcohol marker into thin paper and the ink lands on the table underneath. Neither problem comes down to spending more money. Both come down to which marker you picked, what you printed on, and the order you laid the color down.
Alcohol Markers or Water-Based Markers: Choose Before You Print
Every marker on the shelf belongs to one of two families, and the difference is the liquid carrying the pigment.
Alcohol markers, which include Copic, Ohuhu, and Prismacolor, carry dye in a fast evaporating alcohol solvent. The ink spreads into the paper fibers, dries within seconds, and layers into smooth gradients without roughing up the surface. Copic Sketch, the range most serious colorists build toward, covers 358 colors, refills from bottled ink, and takes replacement nibs, which is why a single marker can outlast an entire budget set. The trade-off is bleed. That solvent travels through thin paper almost every time.
Water-based markers, which include Crayola Classic, Crayola Super Tips, and most washable school markers, carry pigment in water. The ink stays nearer the surface, bleeds far less, and washes out of clothing. It also dries more slowly, shows streaks more clearly across large areas, and can pill the paper if you scrub the same spot repeatedly.
Pick by who is holding the marker. For children under about eight, washable water-based markers on ordinary paper are the right answer and the mess stays manageable. For an adult working on a detailed page, alcohol markers earn their price, as long as you fix the paper first.
Fix the Paper Before You Blame the Marker
Bleed-through is a paper problem wearing a marker costume. Three choices solve it:
- 20 lb standard printer paper. This is what comes in the ream you already own. It handles water-based markers at normal saturation and gives up quickly under alcohol ink.
- 32 lb premium printer paper. It takes water-based color at full saturation and survives light alcohol work. It still feeds through any home printer.
- 65 lb to 110 lb cardstock. Heavy enough for alcohol markers and thick enough that the page lies flat while you work. Check your printer manual first, because not every paper tray accepts the top of that range.
Whatever you print on, put a scrap sheet underneath the page. It costs nothing and it is the difference between a ghost outline on your dining table and no ghost outline at all. Print two copies while you are at it, so the second sheet can absorb your color tests. For a fuller breakdown of weights, brightness, and finish, read our guide to the best printer paper for coloring pages.
Color Without Streaks
Streaking happens when ink you laid down 10 seconds ago dries before the ink beside it arrives. The two edges never merge, and you see the seam. Everything below exists to stop that.
- Work shape by shape, not area by area. Fill one petal, one wing panel, one stripe. Small enclosed shapes stay wet from the first stroke to the last.
- Move in one direction. Pull the marker left to right, lift, return to the left, and pull again. Circular scribbling overlaps strokes at random angles and every overlap reads as a darker patch.
- Keep a wet edge. Start each new stroke inside the still damp edge of the last one so the two flow together.
- Outline first, then flood. Trace just inside the black line with the fine tip, then fill the middle with the broad nib. Working outward into a dry border is what produces halos at the edge of a shape.
- Do not stop midway. If the phone rings, finish the shape you are in first. Alcohol ink dries in seconds and there is no way back into a dried edge.
Blend and Shade With Just Two Markers
You do not need a 60-marker set to get depth. You need two markers from the same color family, one light and one dark.
Lay the light color across the whole shape. Immediately, while it is still wet, run the darker marker along one edge, usually the side away from your imagined light source. Then go back over the boundary with the light marker again. That third pass reactivates the pigment and drags the dark into the light, which is what turns a hard border into a gradient.
A colorless blender takes this further. It is a marker filled with solvent and no pigment at all, so it pushes color outward rather than adding any. It only works with alcohol markers, because it relies on the same solvent already in the ink. With water-based markers, a slightly damp paintbrush does the same job, though the paper will buckle if you overdo the water.
If you also work in pencil, the same light-to-dark logic applies there, and our guide to blending colored pencils covers the pressure and layering side of it.
Pages Worth Practicing On
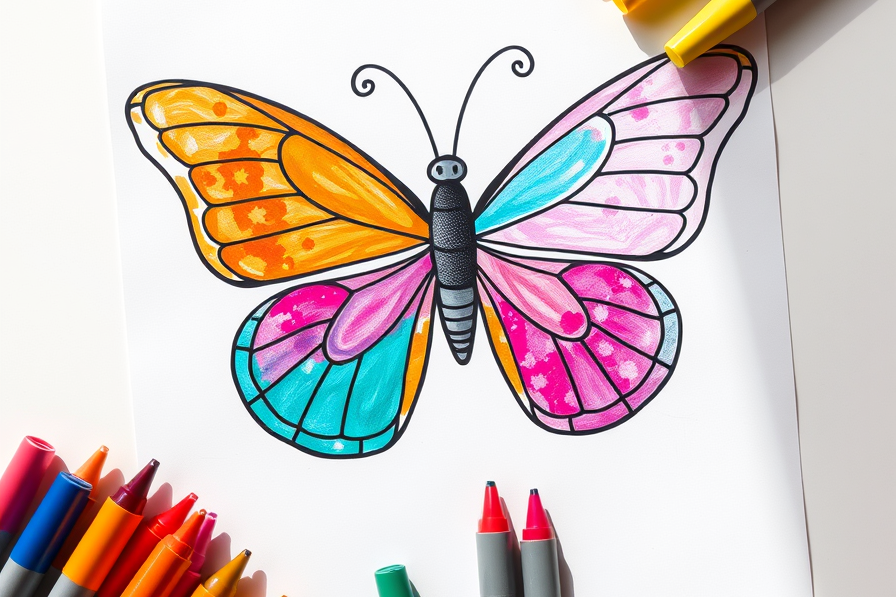
Marker technique gets easier when the shapes are large and clearly bounded, so start there before you try anything intricate. Ice cream pages and butterfly pages give you big open panels that stay wet long enough to forgive a slow hand. Easy mandalas are the best place to drill the two-marker gradient, because the repeated shapes let you try the same blend six times in a row and compare the results side by side. Once the strokes feel automatic, move up to flower pages and the denser floral patterns in our adult section.
Every page linked above downloads free as a printable PDF, with no sign-up and no account.
Frequently Asked Questions
Is it better to color with pencils or markers?
Neither is better, but they fail in opposite ways. Markers give flat, even, saturated color fast, and they cannot be lightened once the ink is down. Colored pencils build up slowly in layers, forgive mistakes, and never bleed through paper. Choose markers for bold graphic pages and large shapes. Choose pencils for shading, texture, and any page with tiny detail areas smaller than the marker nib.
How do you color with Crayola markers?
Crayola markers are water-based, so treat them as a surface medium rather than a soaking one. Use the broad side of the tip for filling and the point for edges, work in one direction, and stop after one pass, because a second pass over drying water-based ink lifts pigment and pills the paper. On 20 lb printer paper they need no special setup. Wash the color out of clothing with warm water.
How do you color with paint markers?
Paint markers such as Posca carry opaque pigment paint rather than transparent dye, so they cover the black outline instead of sitting inside it. Shake the barrel, press the nib on scrap paper until paint flows, and color inside each shape without crossing the line. They work best on cardstock, and you must let each color dry fully before adding a second one on top or the layers lift.
How do you bring a dried out marker back to life?
First check the nib rather than the ink. Press it firmly on scrap paper for a few seconds, since a nib that dried in the cap often reflows once pigment reaches the tip. For alcohol markers, a couple of drops of rubbing alcohol on the nib can restart a nearly empty barrel. Copic markers are designed to be refilled outright, and one 12 ml bottle of Copic Ink refills a marker roughly seven times.
Start With One Page
Markers reward a plan. Choose the family that suits the person coloring, print on paper heavy enough to hold the ink, slide a scrap sheet underneath, and fill each shape in one continuous direction while the edge is still wet. Add the two-marker gradient once those habits stick, and your pages will look shaded rather than merely filled.
Pick a page and try it today. Everything on coloringden.com is free to print, downloads instantly as a PDF, and never asks you to create an account. Browse the full collection and start with something large and simple.